

In-home Newborn Photos: How to Prepare
One of my absolute favorite photo session types of in-home newborn. It’s so special to be able to capture little moments in time with this tiny little addition to your family. Those first two weeks can be a blur, so being able to look back and see how little they look in your arms is just so sweet and magical.


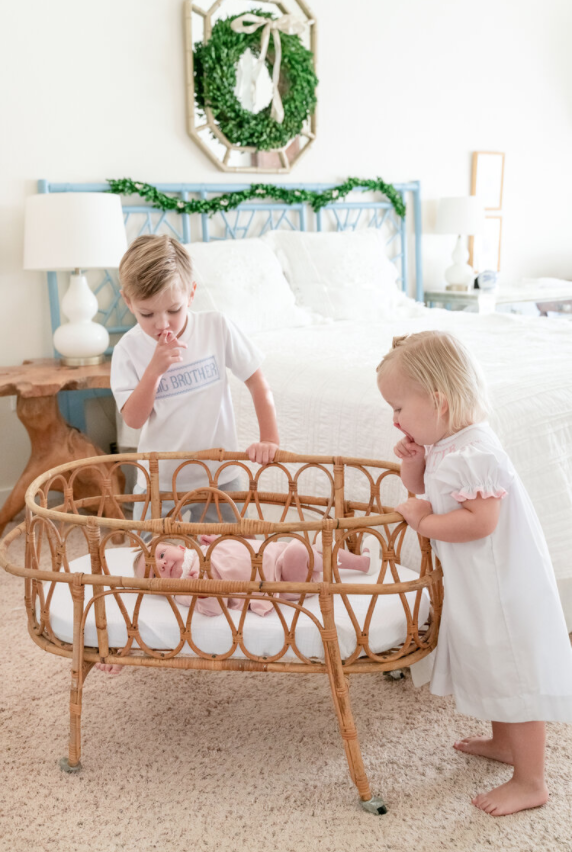
Katie was wondering if her energetic kiddos would cooperate for pictures 😉, but we had a great time and got some really cute images, too! Moral of the story? Don’t stress! It’ll be great!
My friend Katie @Stripesandwhimsy has an amazing flair for decorating but I promise you: You don’t need to have your house magazine-ready to have an in-home session! Most sessions are typically focused around one room (nursery, master BR, or even living room) and, really, all I need is a window and I can get some gorgeous images for you.
Here are a few tips for how to make the most out of your in-home newborn session.
First, check out this previous blog post about what colors to wear for your photo shoot. Although the post highlights beach sessions, the same concepts apply for in-home sessions, too. Light, bright clothing (and linens!) help create light, bright pictures. Soft neutrals tend to work best, as they photograph well and don’t accentuate the (sometimes intense) skin undertones babies are born with.
Next,
1) Study the Room
Before our session, take note of which room is the brightest around mid/late morning. This may help us determine which room is best to photograph. Most sessions will be on a weekday: from late morning to early afternoon. (Edit: because I’ll be bringing lights with me, we don’t need to worry about this TOO much - but it is nice to see which rooms are naturally the brightest and most light-filled)
2) Clear the Stuff
Clear as many “extras” off of surfaces as possible. We want the focus to be on your gorgeous new little baby - not on the top of your dresser.😉 If you have a special memento, doll, or other item you’d like to include or highlight in the session, please let me know!
3) Simple Outfits = More Focus on Baby
We will have time in our session to change the baby’s clothes if you'd like, however it’s my personal preference to keep it simple. Not only does that mean fewer things for you to worry about, but simple outfits like a short-sleeve plain white onesie - helps us focus on the baby’s features. There’s something so sweet about seeing those cute little legs in all their glory. 😍
As for colors, soft neutrals tend to work best for the baby. Why, you ask? Oftentimes babies are born with either yellow, red, or purple undertones to their skin and wearing those colors can accentuate those tones.
4) Keep Baby Awake for at Least an Hour Prior
When we’re able to have the baby sleep during the session, more time can be spent on snapping pics. Please try to keep your baby awake for at least an hour before our session begins so that they’re ready to sleep for our session. Have your partner play with the baby, go for a (non-stroller) walk outside, or even give a bath for a bit before the session. Then, about 15 mins before our session begins, change into the the photo session outfit and start feeding the baby.
5) Full Belly = Happy, Restful Baby
Please fully feed your baby before our session begins! Don’t skimp on this and try to rush- if you’re still feeding the baby when I show up, don’t stress. I’ll use the first few mins to get my gear set up and start photographing the nursery. Getting the little one “milk-drunk” will help them rest easier for our pictures and we’ll be able to make the most out of our time together.
Let me know if you have any questions about booking an in-home newborn session!